|
CONSULTATION AND DOCUMENTATION
For our research service on individual early Knabe, Mason and Hamlin or Steinway pianos, please see the following page on this website:
Knabe, Chickering, Mason and Hamlin and Steinway Research
DOCUMENTATION
We welcome submissions of your documentation and data gathering, both by email to bdshull@aol.com and as photos and data to the Historical Piano Society www.historicalpianosociety.org
Photo documentation and measurements are especially helpful. Below is a basic documentation list:
BASIC PIANO DOCUMENTATION PROTOCOL
Basic photographic technique:
Smartphones are handy because they are always available, and can take excellent photographs. However, the best results are obtained with a dedicated camera mounted on a tripod, whever possible. I have used bridge SLRs but prefer an SLR with interchangable lenses and a high quality flash attachment. I use a Canon SLR with a Speedlite flash which permits a great degree of re-direction of light for the least glare and most even lighting. Observe, eliminate or control glare whenever possible for even distribution of light. To obtain the most dimensionally accurate photograph (the least amount of parallax) use a telephoto lens or function. The best results are obtained with telephoto, tripod and remotely actuated trigger (use of timer or remote trigger reduces jiggle). A high quality flash with telephoto on a tripod can provide even light distribution with sharp focus and dimensional accuracy. (And after all is said and done, I’m still amazed at the photos my iPhone obtains.)
1. Plan View photographs of top and (if possible) bottom of piano. Piano is on its side with lid and music desk removed.
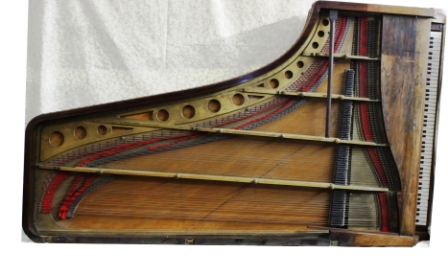 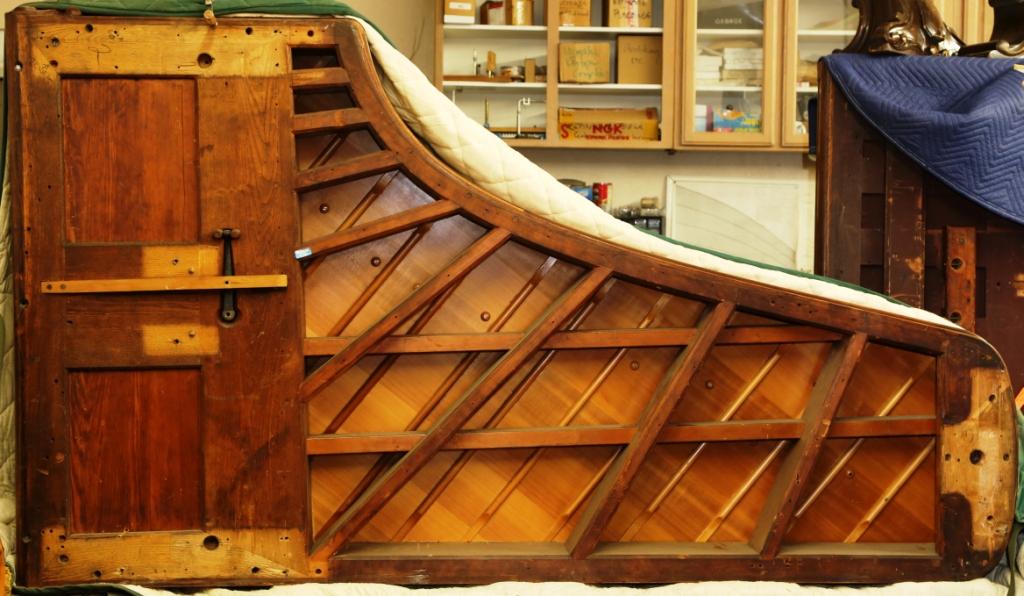
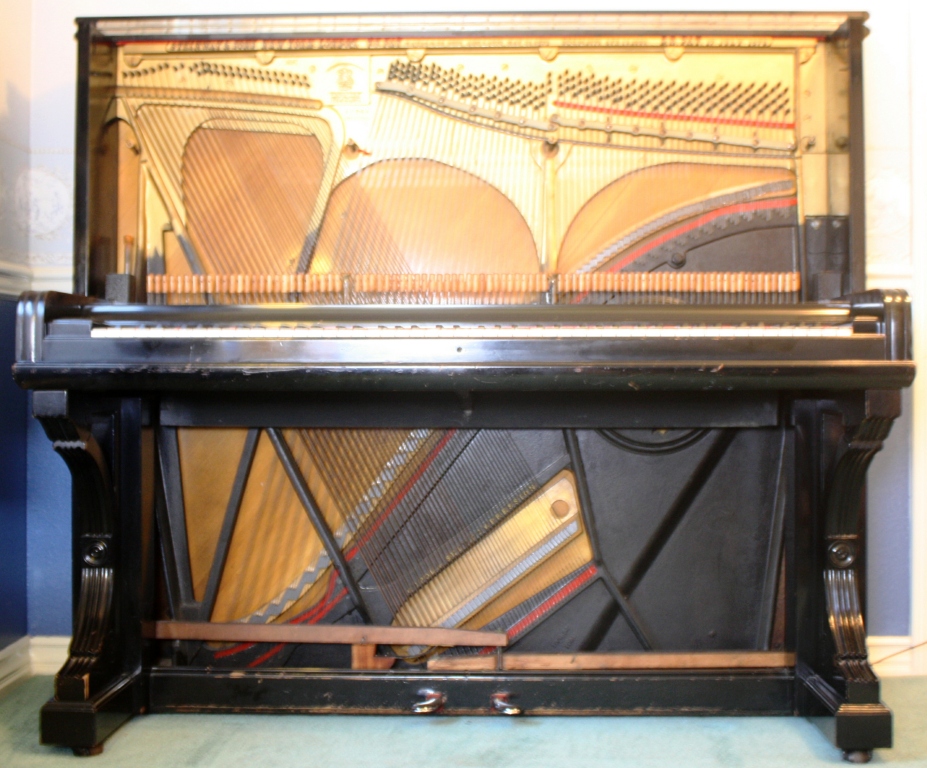 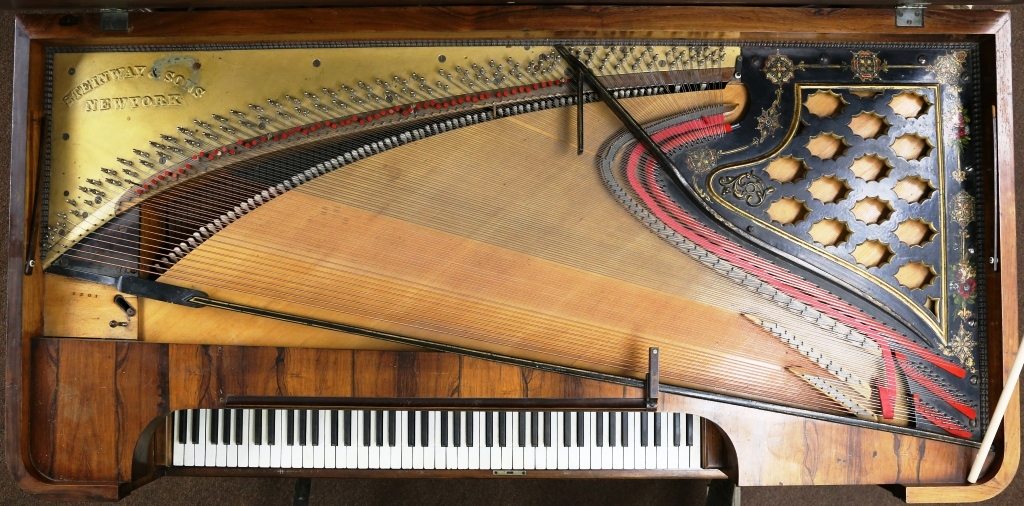
Alternatively: If piano cannot, for whatever reason, be placed on its side, mount camera to tripod and position as high as possible above piano for plan view, with lid swung vertically or removed.
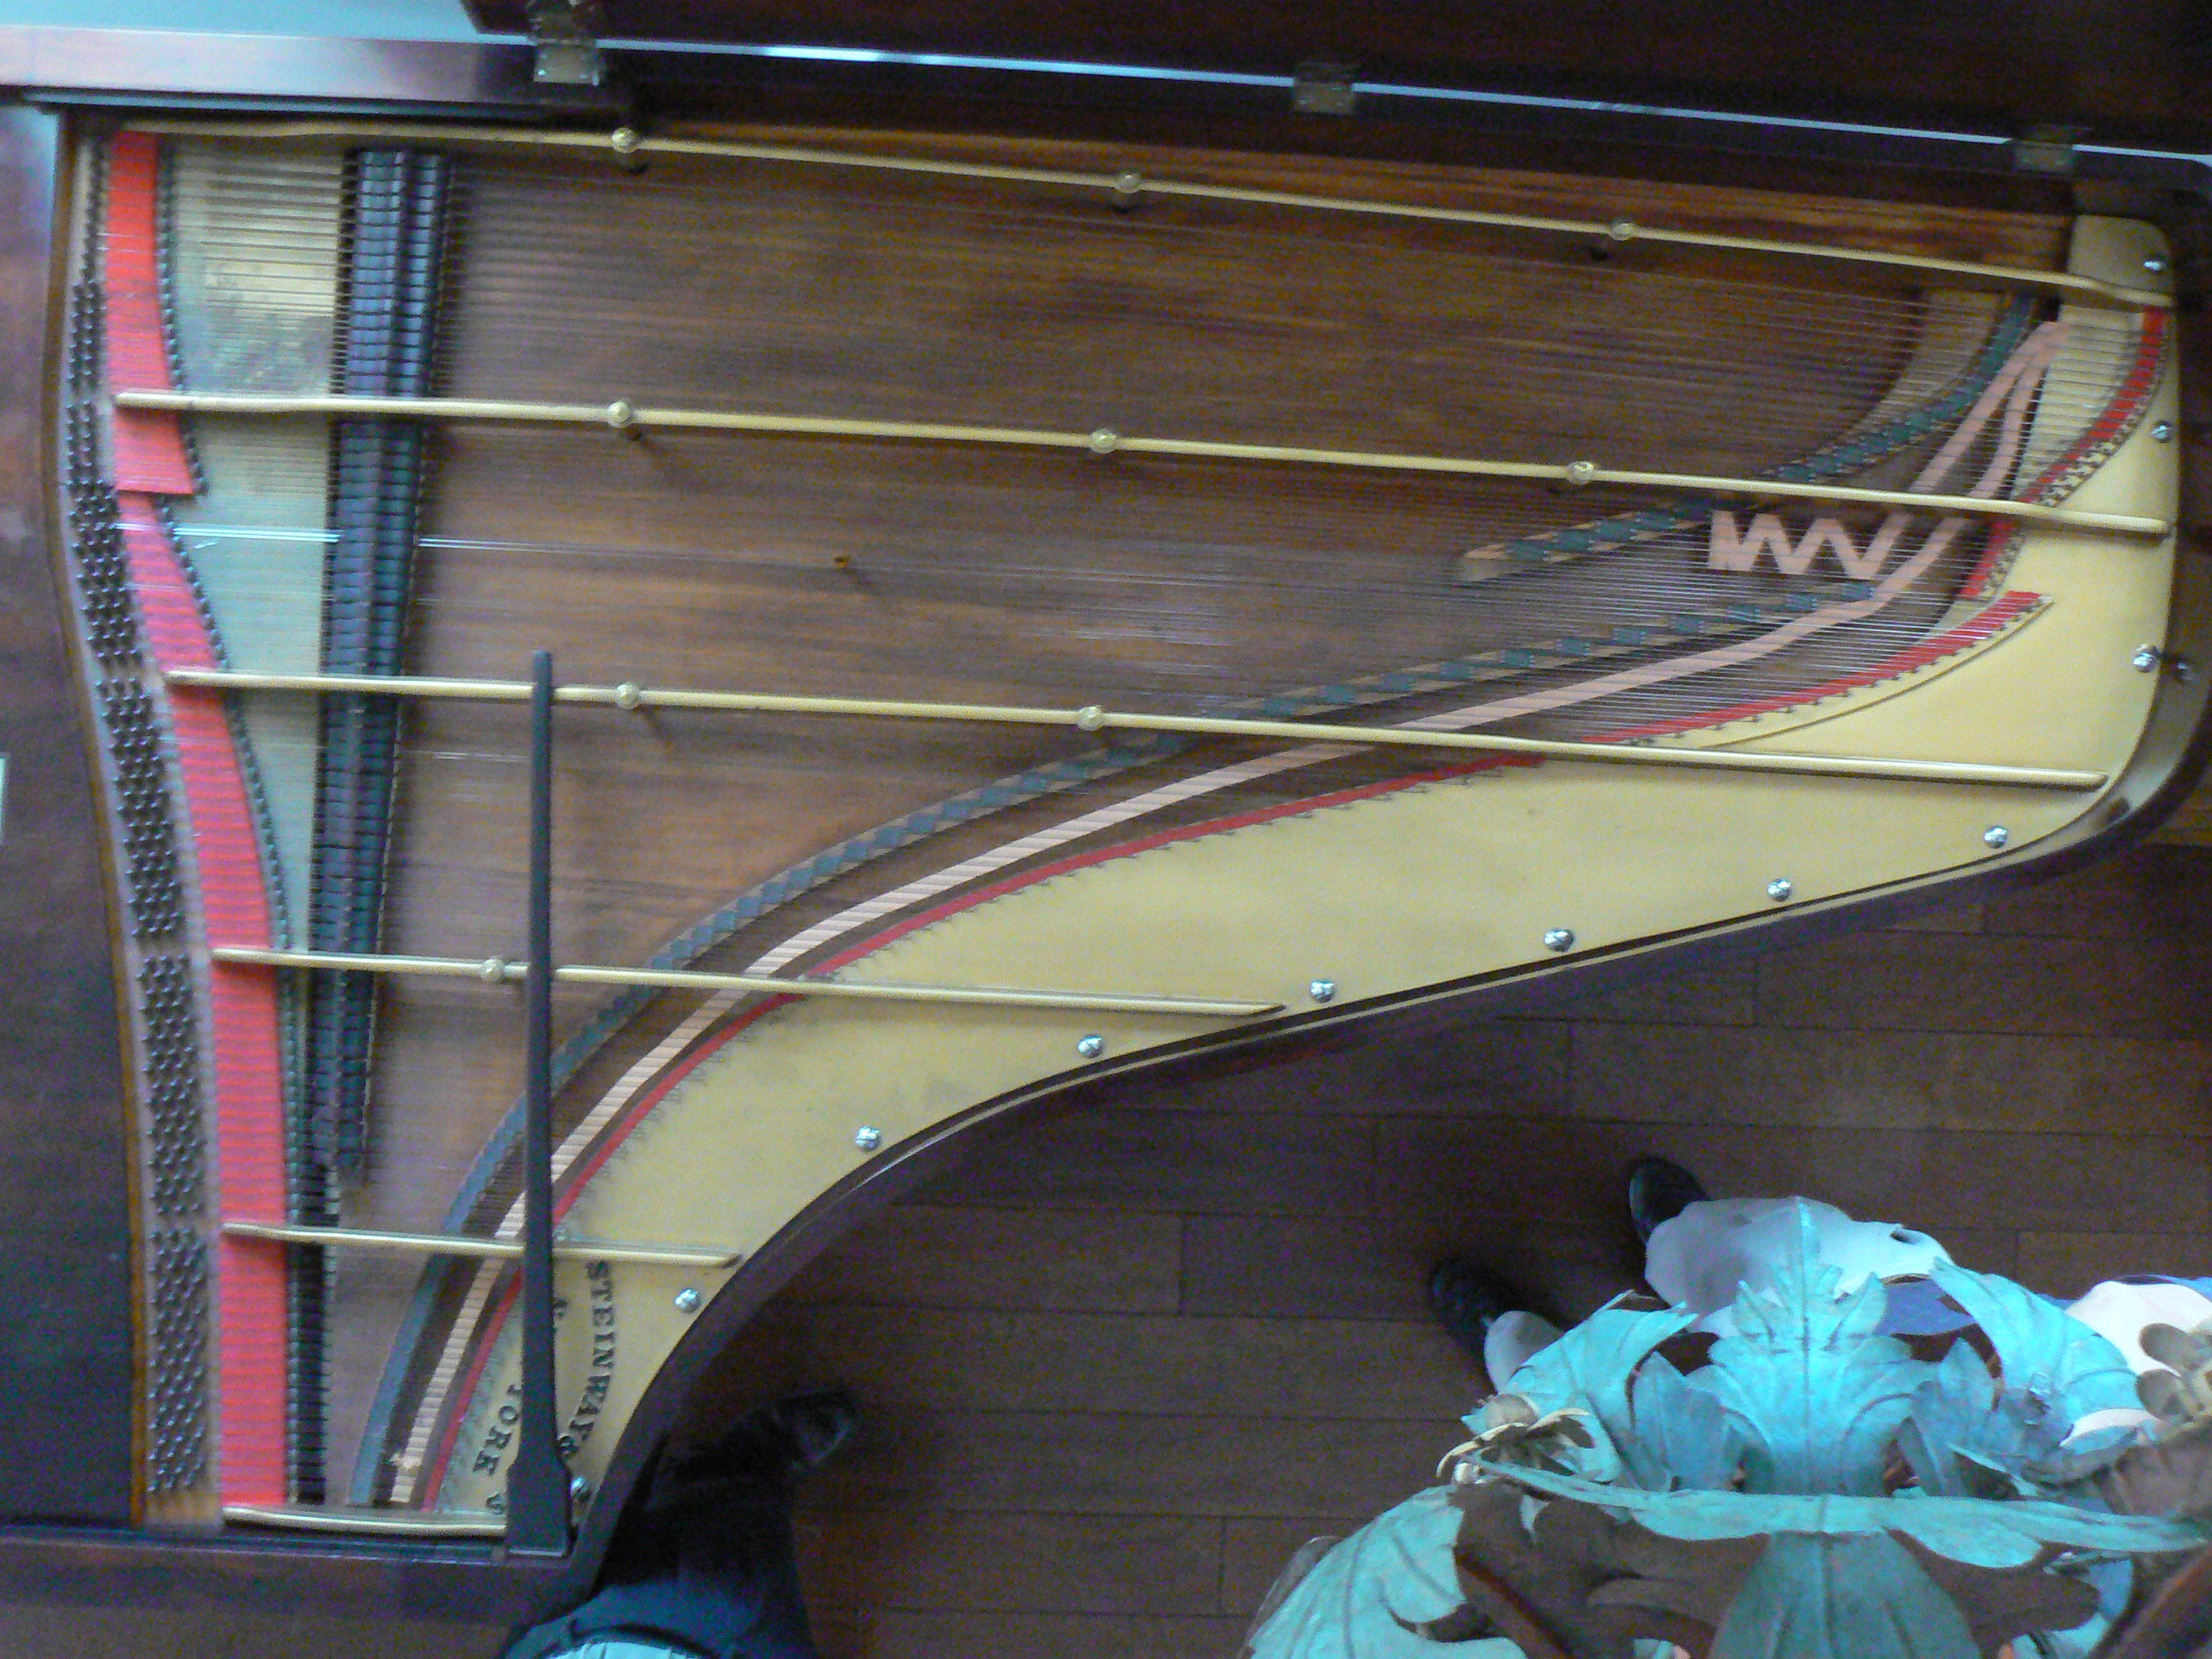
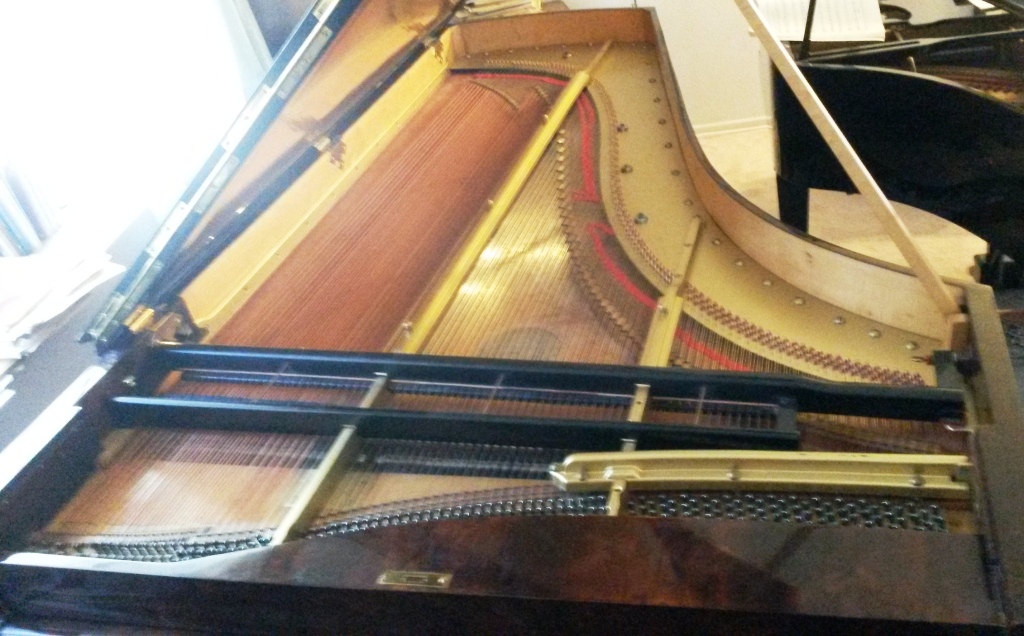
Or, if this is impractical, take photograph of full plate/belly from front of piano, from as high a position as possible. Other belly angles are also helpful.
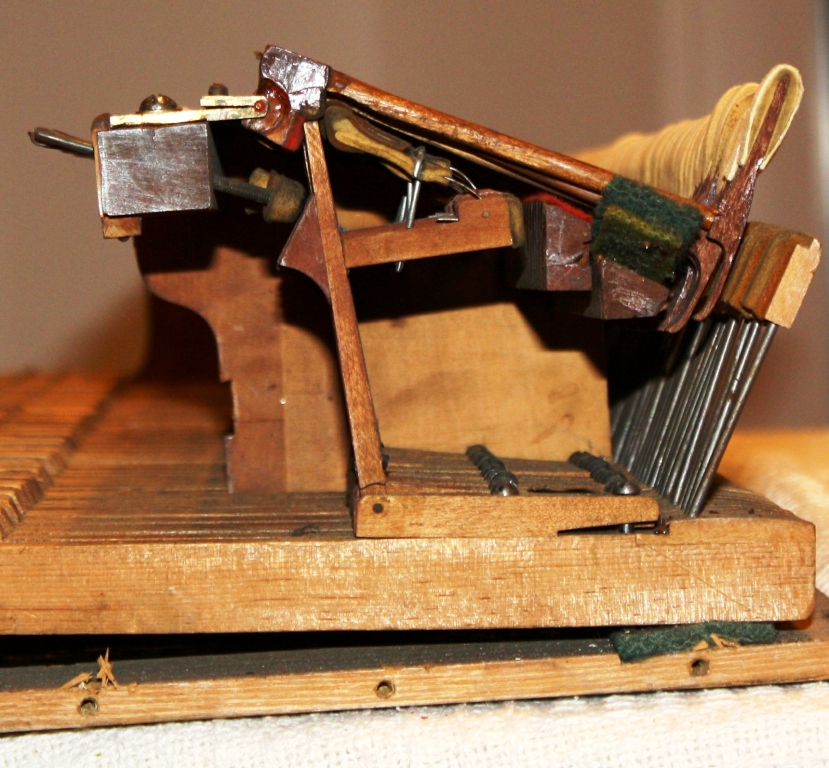
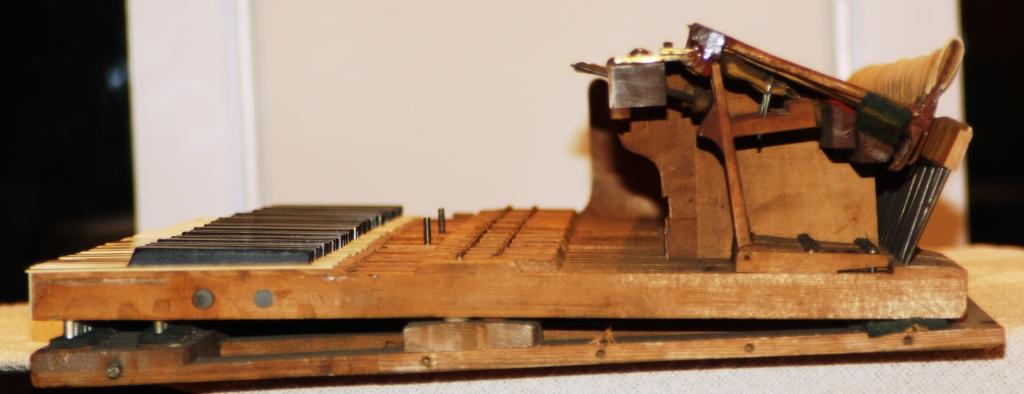
2. Plan View photographs of the side view of the action. If possible, unscrew wooden side bracket/frame end piece to achieve clear photo. Obtain whatever possible photo can be obtained of the side plan view. Both a closeup of the action stack, and a full photo of the key and stack are helpful. If the action parts are too obscured, remove whippen and hammer shank, lay out on table with white backdrop, and photograph with parts arranged similar to position in piano.
3. Identification: Document (photograph if possible) piano serial number. On early Steinways this number is often found on the stretcher towards the bass, as well as on the pinblock between the bass and treble tuning pins. For some, the serial number can be found on the belly rail in the bass If no serial number is located, look at cabinet parts and other locations (cheek blocks, base of lid prop, action frame, etc). Steinway used the serial number as the production number (case number) until nearly 1900.
4. Measure case length at longest point, parallel to spline/square to keyboard, in standard and metric (cm). Use a plumb or other method to insure accurate reading at front of keybed; measure to end of lid overhand in back. If leg extends beyond this point, perform a second measurement to farthest leg point.
5. Photograph interior of action cavity, including damper action and related components, as well as belly structure and components.
6. Identify keyboard compass with musical notation and measurement
7. Photograph full piano, including where possible:
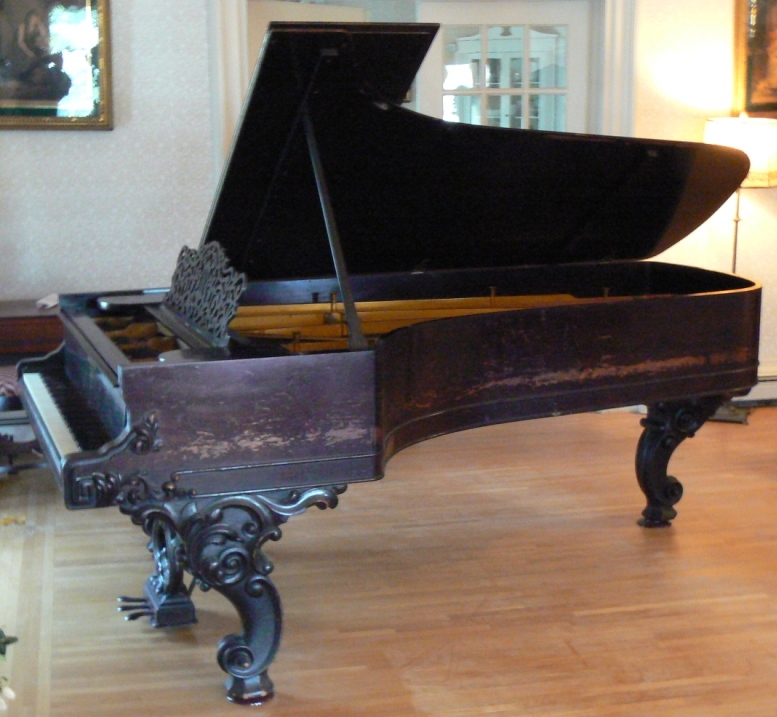
complete case from front (keyboard), music desk in place
front from spline side
front from treble corner, lid up, music desk removed.
from tail towards tuning pins, music desk removed.
9. Photograph fallboard nameplate (decal, brass inlay)
10. Name casting on plate and/or soundboard (take sufficient photographs to accurately capture all decals, writing and identification)
11. Where it exists, photograph action identification label and/or case identification label, often found in action cavity or on action bracket.
12. Photograph entire action from front, side, rear; note if original keys, wippens, shanks/butts and flanges, hammers, capstans or stickers.
13. Measure string speaking lengths. At the least, measure the speaking lengths of the highest note, and the top three C’s. Where possible complete all C’s, and identify and measure the notes at the top and bottom of each scale section. Where possible measure the speaking lengths of all strings.
Optimize photos down to 100-300k size and email with data to EMAIL CONTACTYou may also submit your photos to the website database at
www.historicalpianosociety.org This requires obtaining a login name and password, but will make the photos available to all who use the site.
|